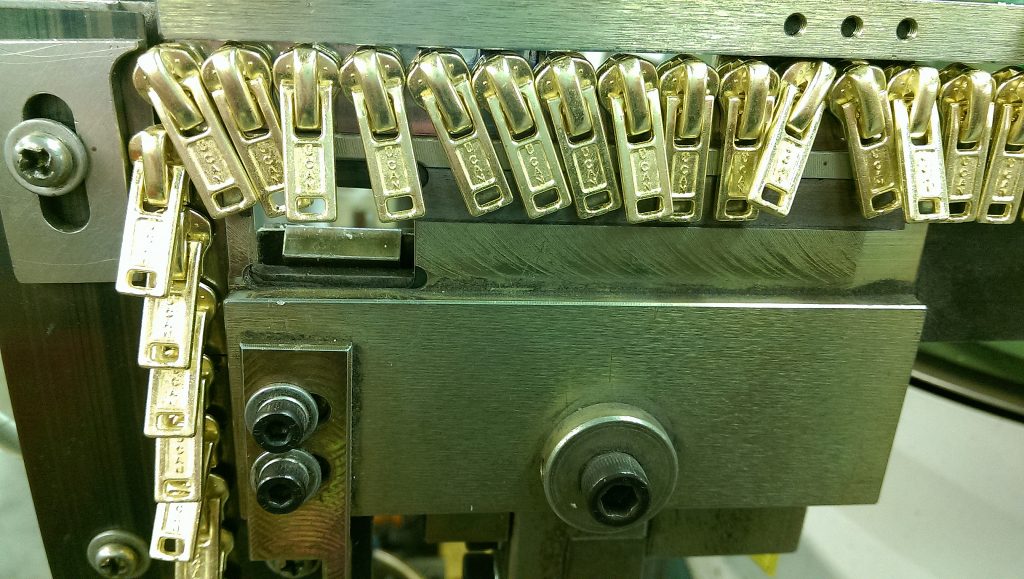
When you’re finalizing your samples or going full steam in production, you will be reaching out to purchase the trim you need for your final product. In calling your zipper supplier, you’ll inevitably get the question, “what zipper gauge are you looking for?” We ask that question all of the time to ensure that our customers are getting exactly what they need. So below we’re going to explain what we mean and how simple it is when measuring the zipper gauge.
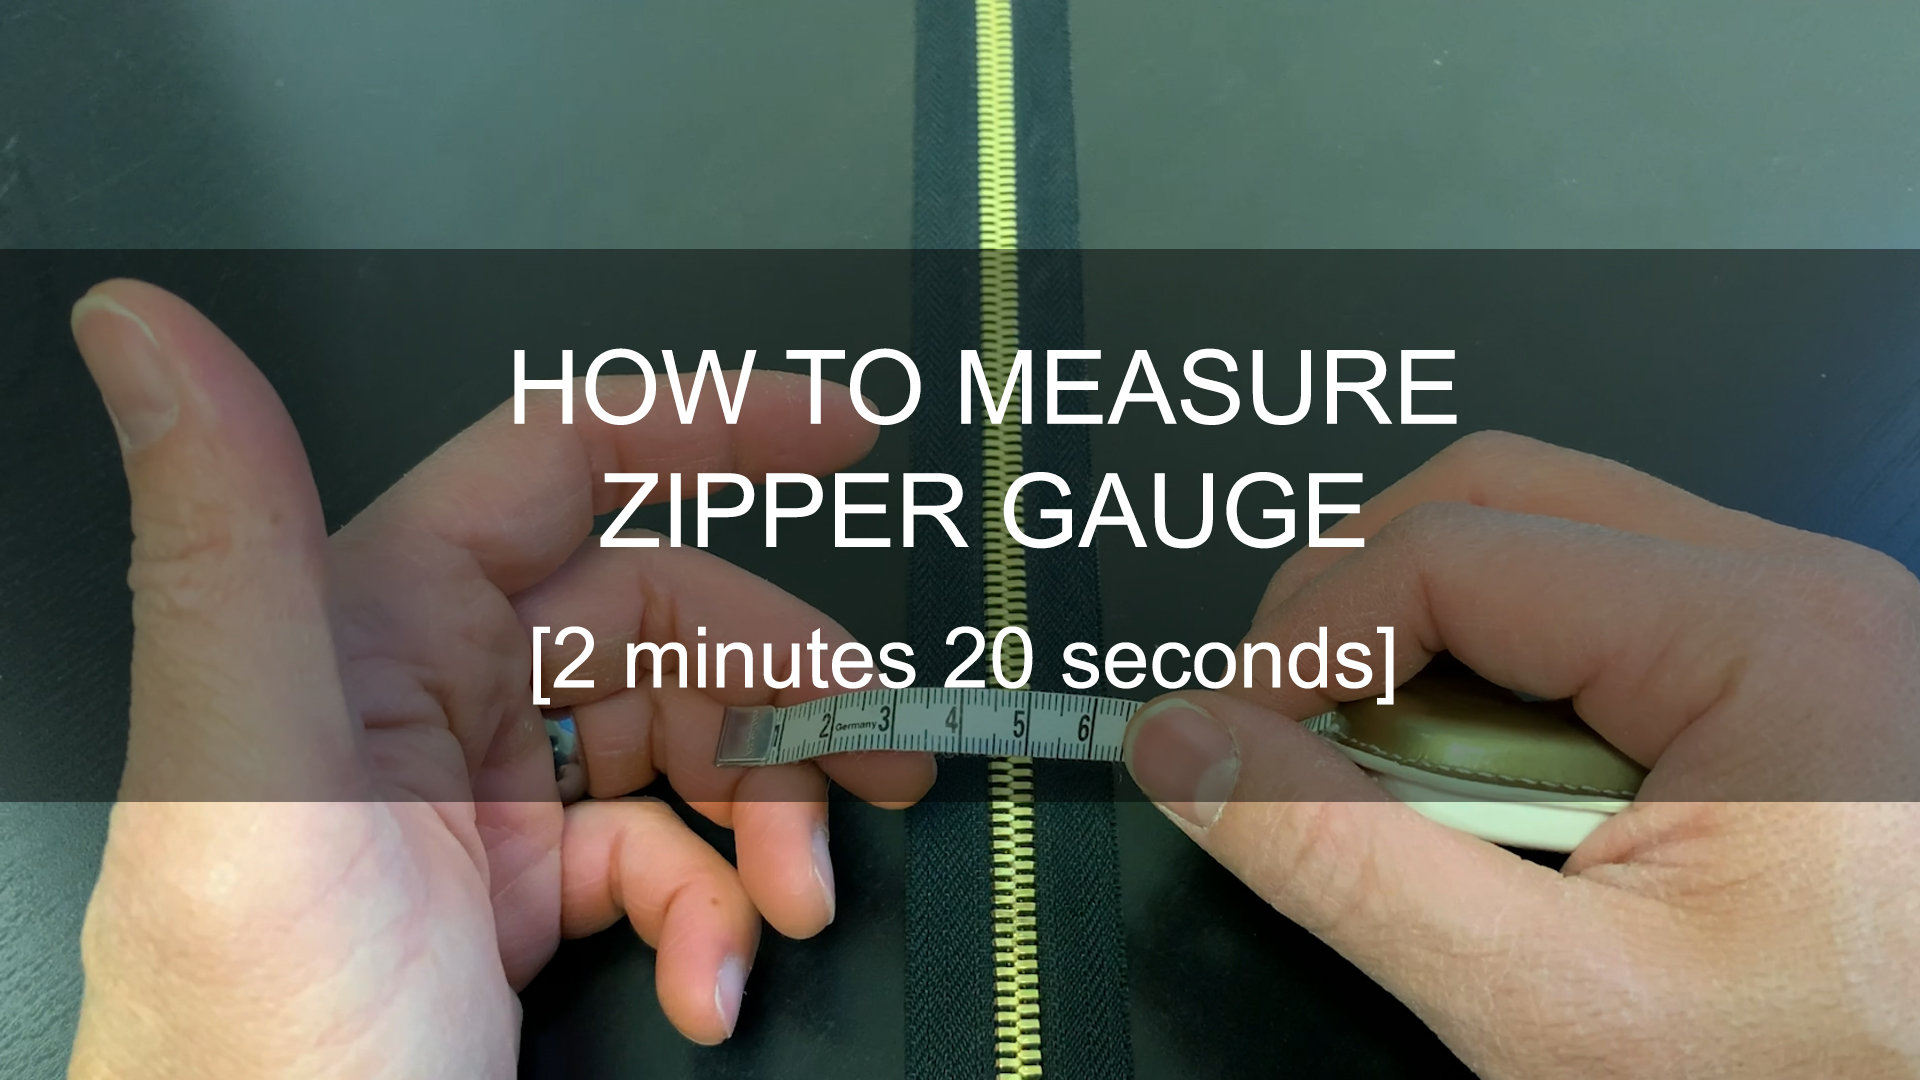
While working with zippers , you’ll hear the terms, #3, #4, #5, etc. This is a direct reference to the zipper gauge. As the numbers increase, the size of the teeth increase as well. This applies to all types of zippers. The way to measure the zipper gauge is by measuring (in millimeters) the zipper teeth horizontally, with the zipper closed.
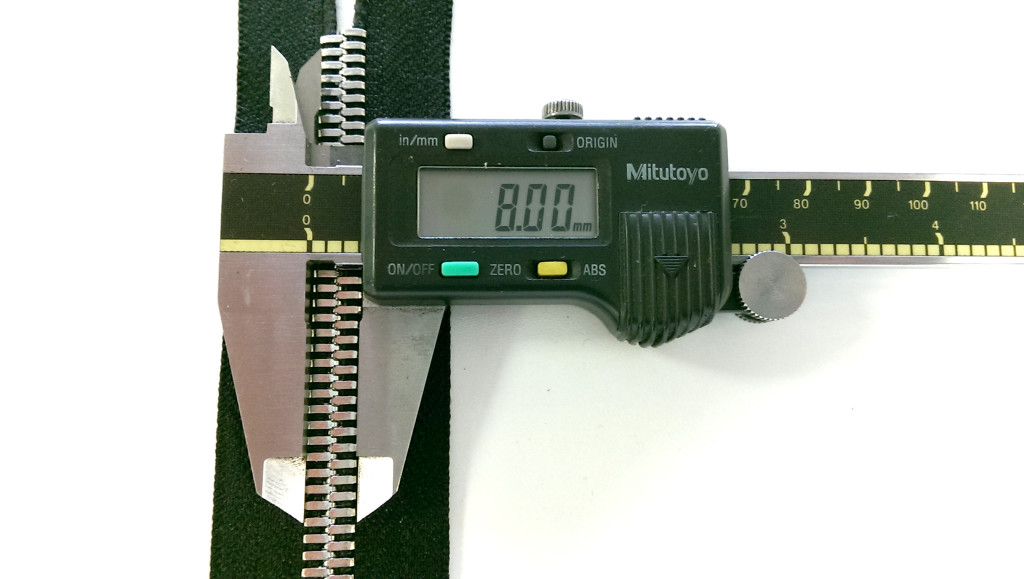
Don’t measure the zipper tape, just the teeth. The measurement will give you an idea of what gauge the zipper is.
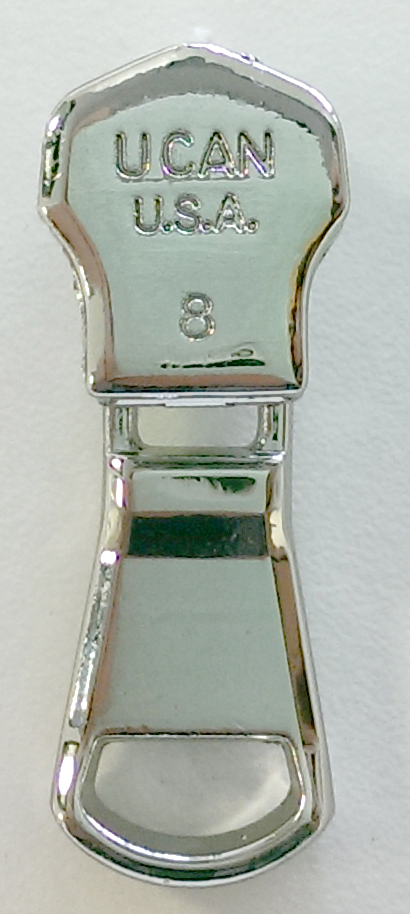
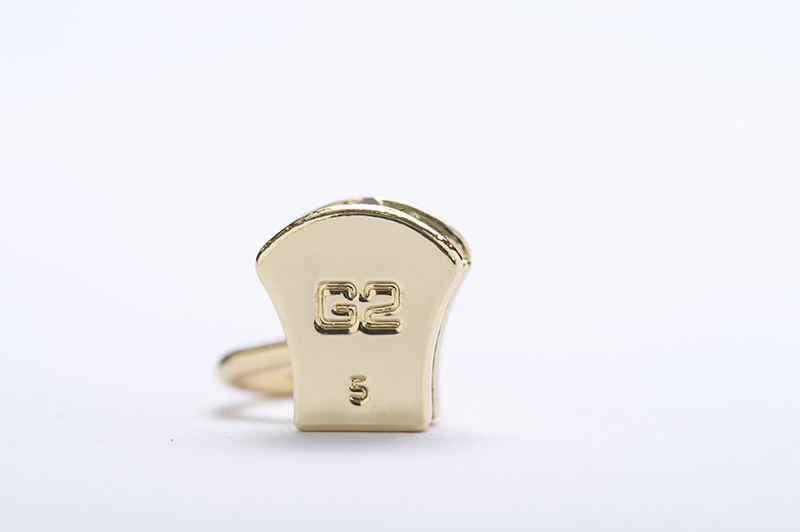
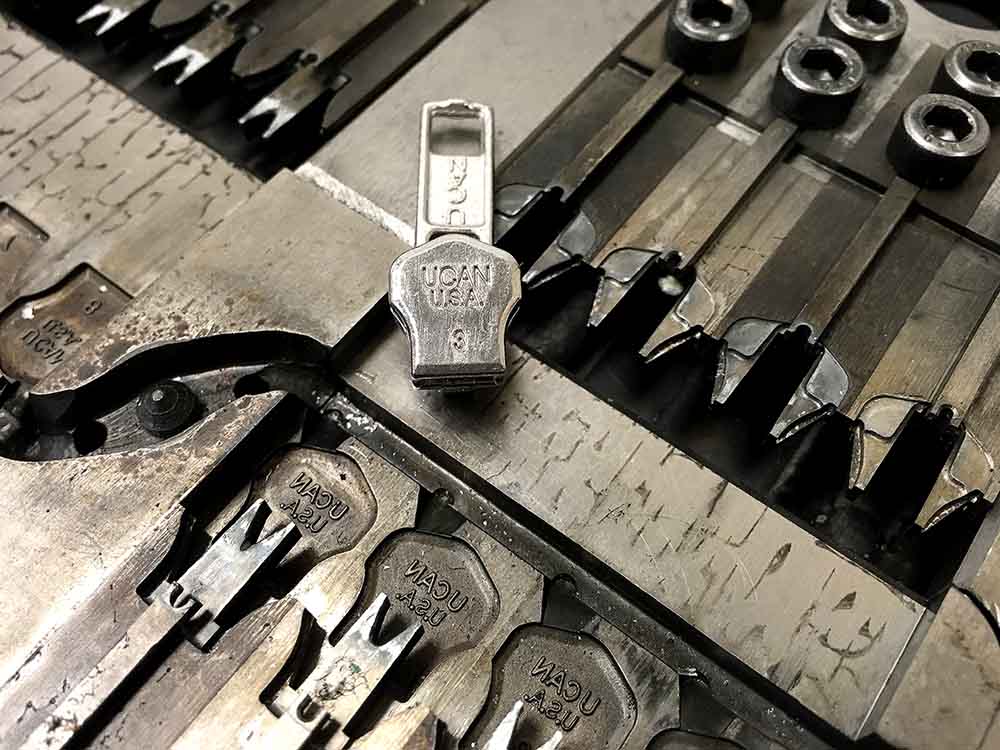
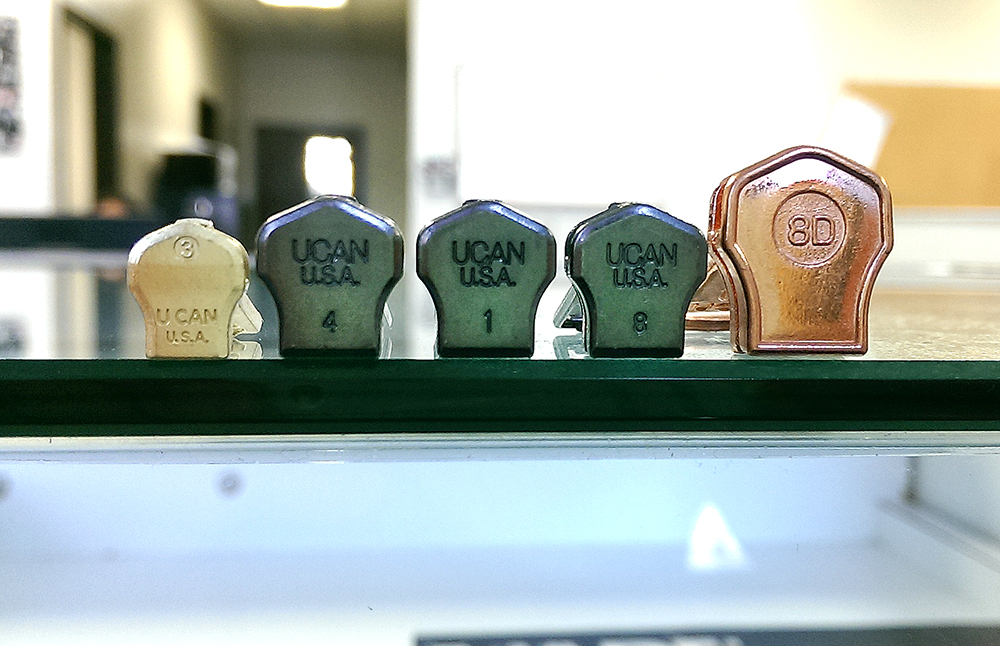
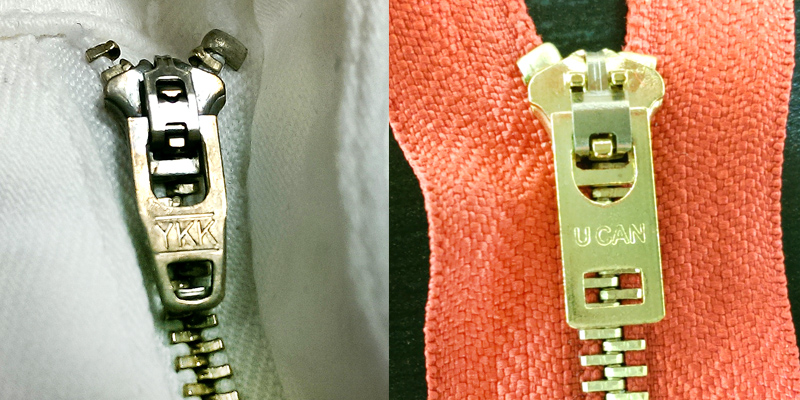
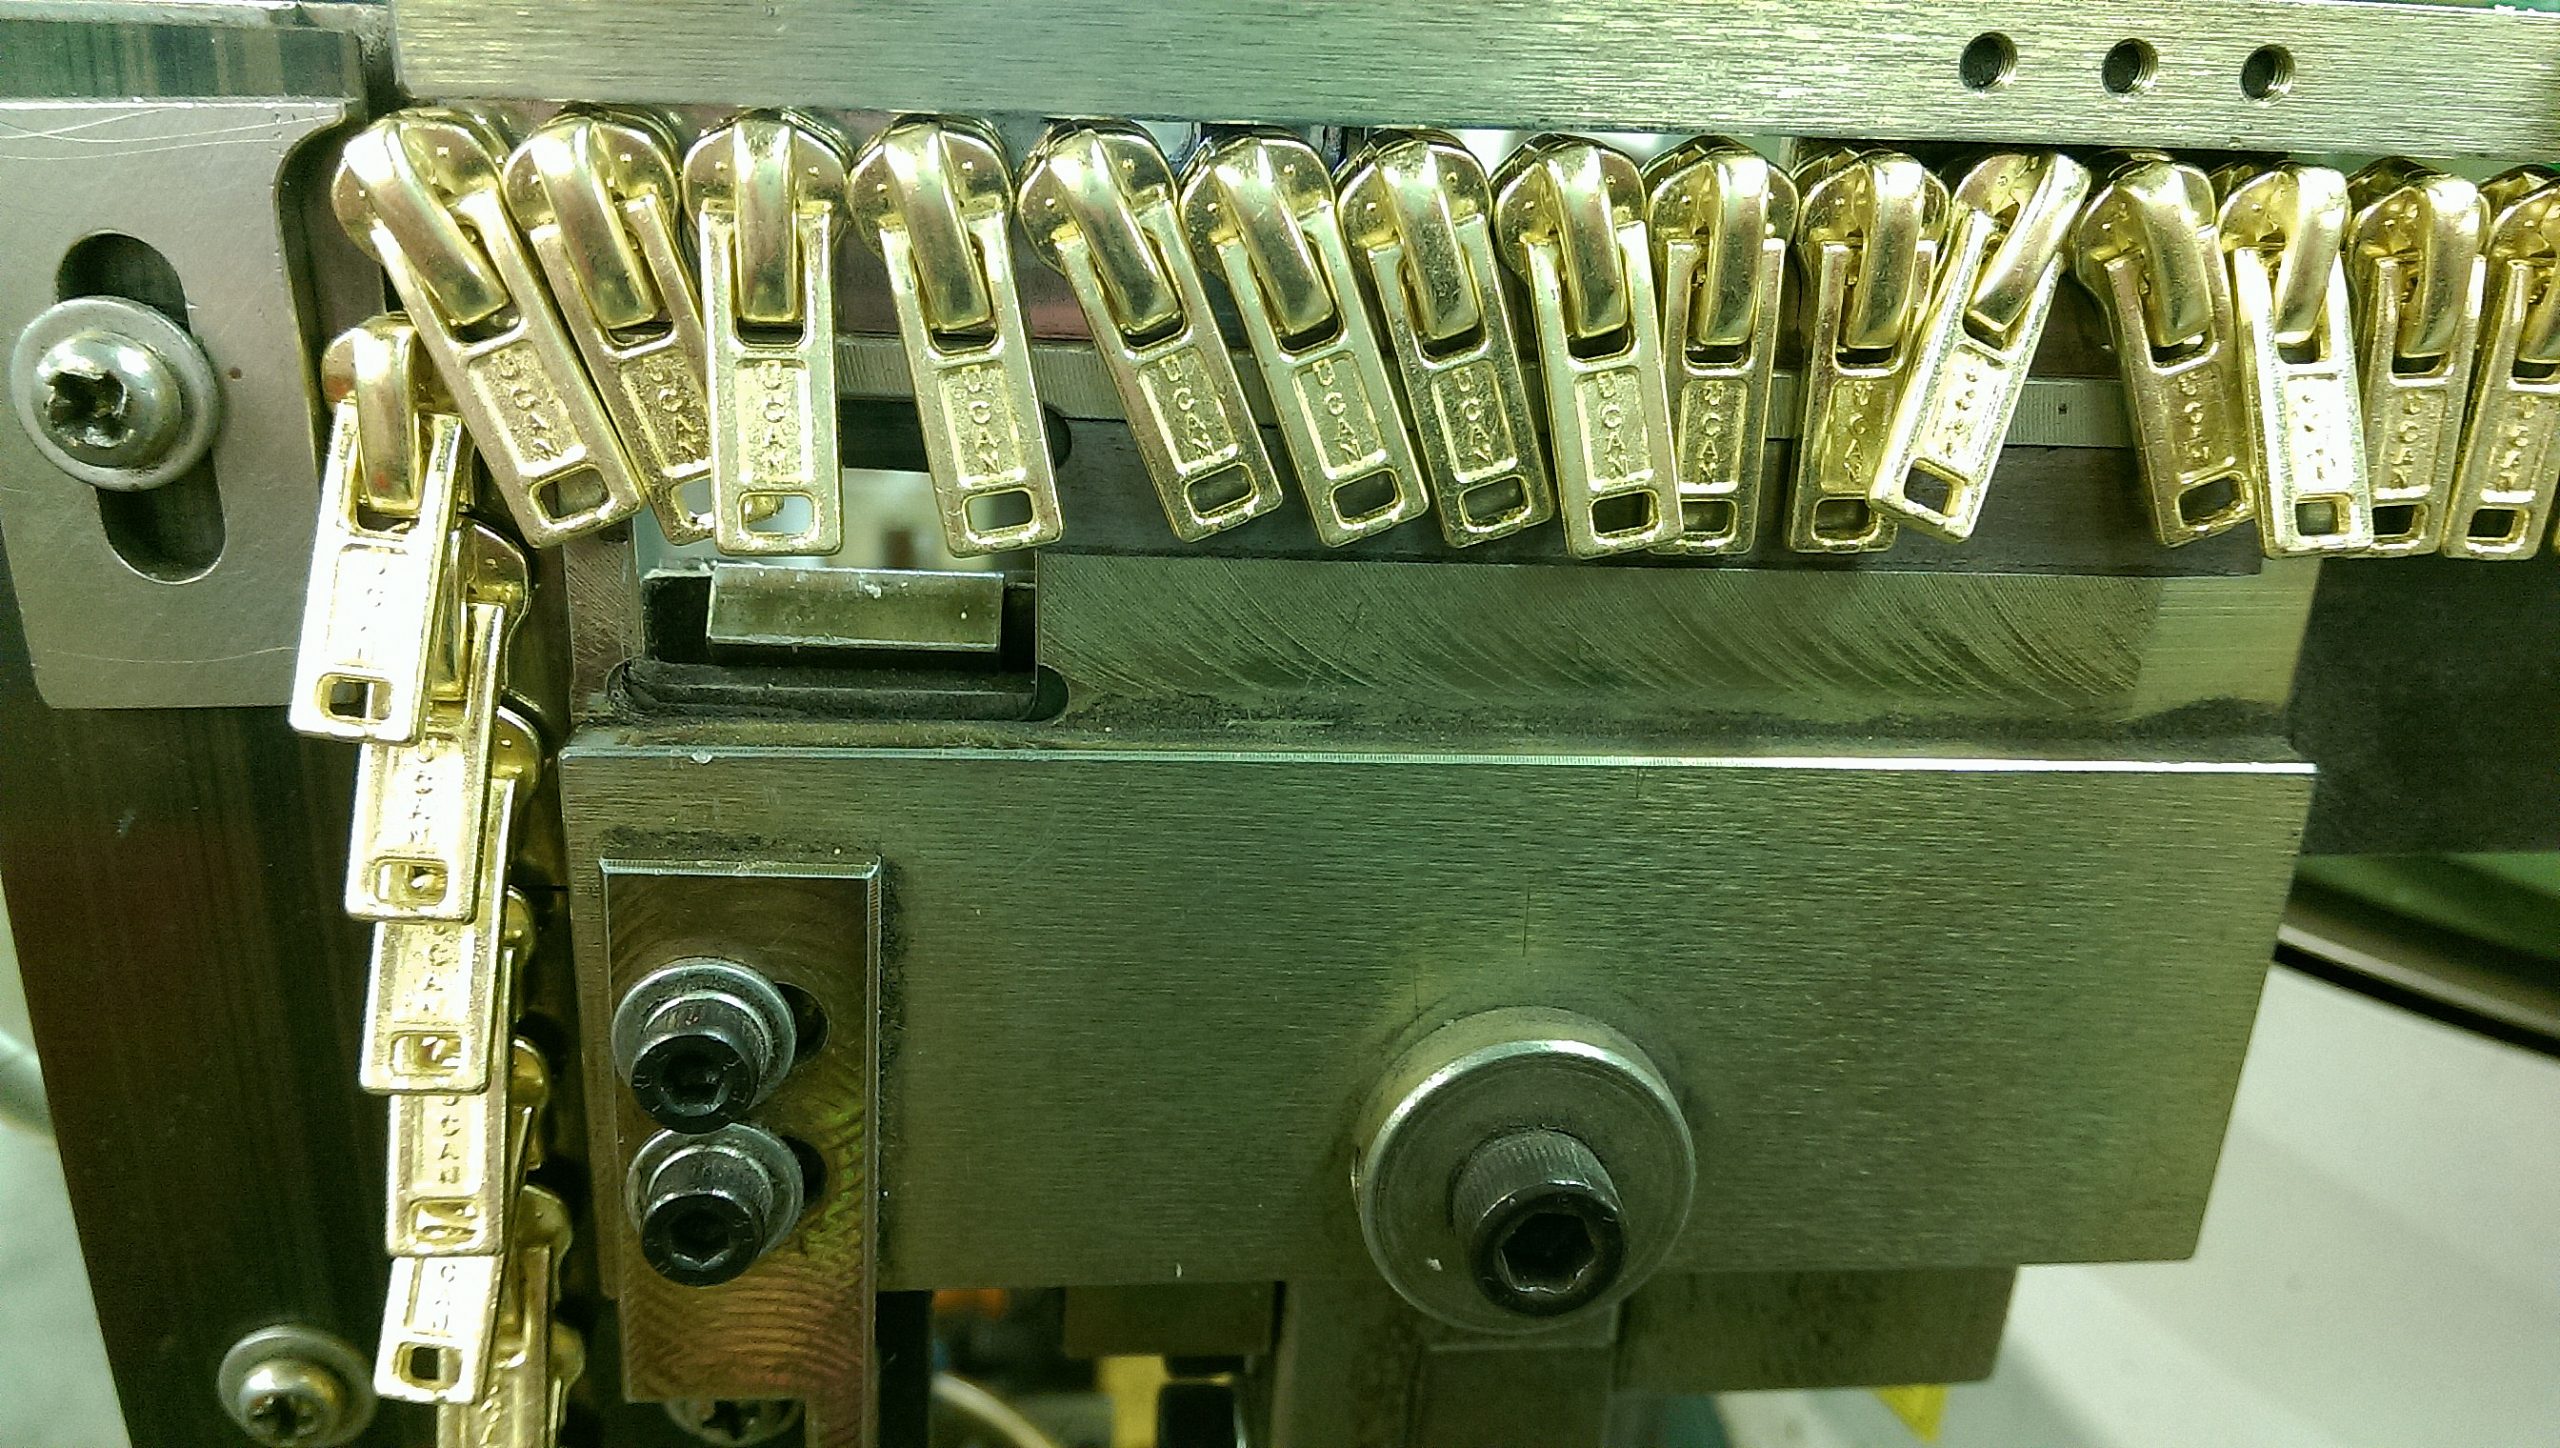
One mistake that some people make is to look at the back of the slider body and take the number imprinted on the back as the zipper gauge. While there are times it is marked with the gauge size, I’ve seen others that are not correct. In some instances, the number imprinted on the back of the slider body marks the mold the slider was casted from. It’s used as a quality measure should there be any issues with the slider. The image below shows a #5 slider body with an “8” to indicate which mold the slider was cast from.
This information will also help when you’re looking to purchase replacement sliders for repair. You will simply measure the zipper gauge and go to your local sewing store to find the correct slider. Then VOILA! You’ll have a working zipper again.
























Leave a Reply